







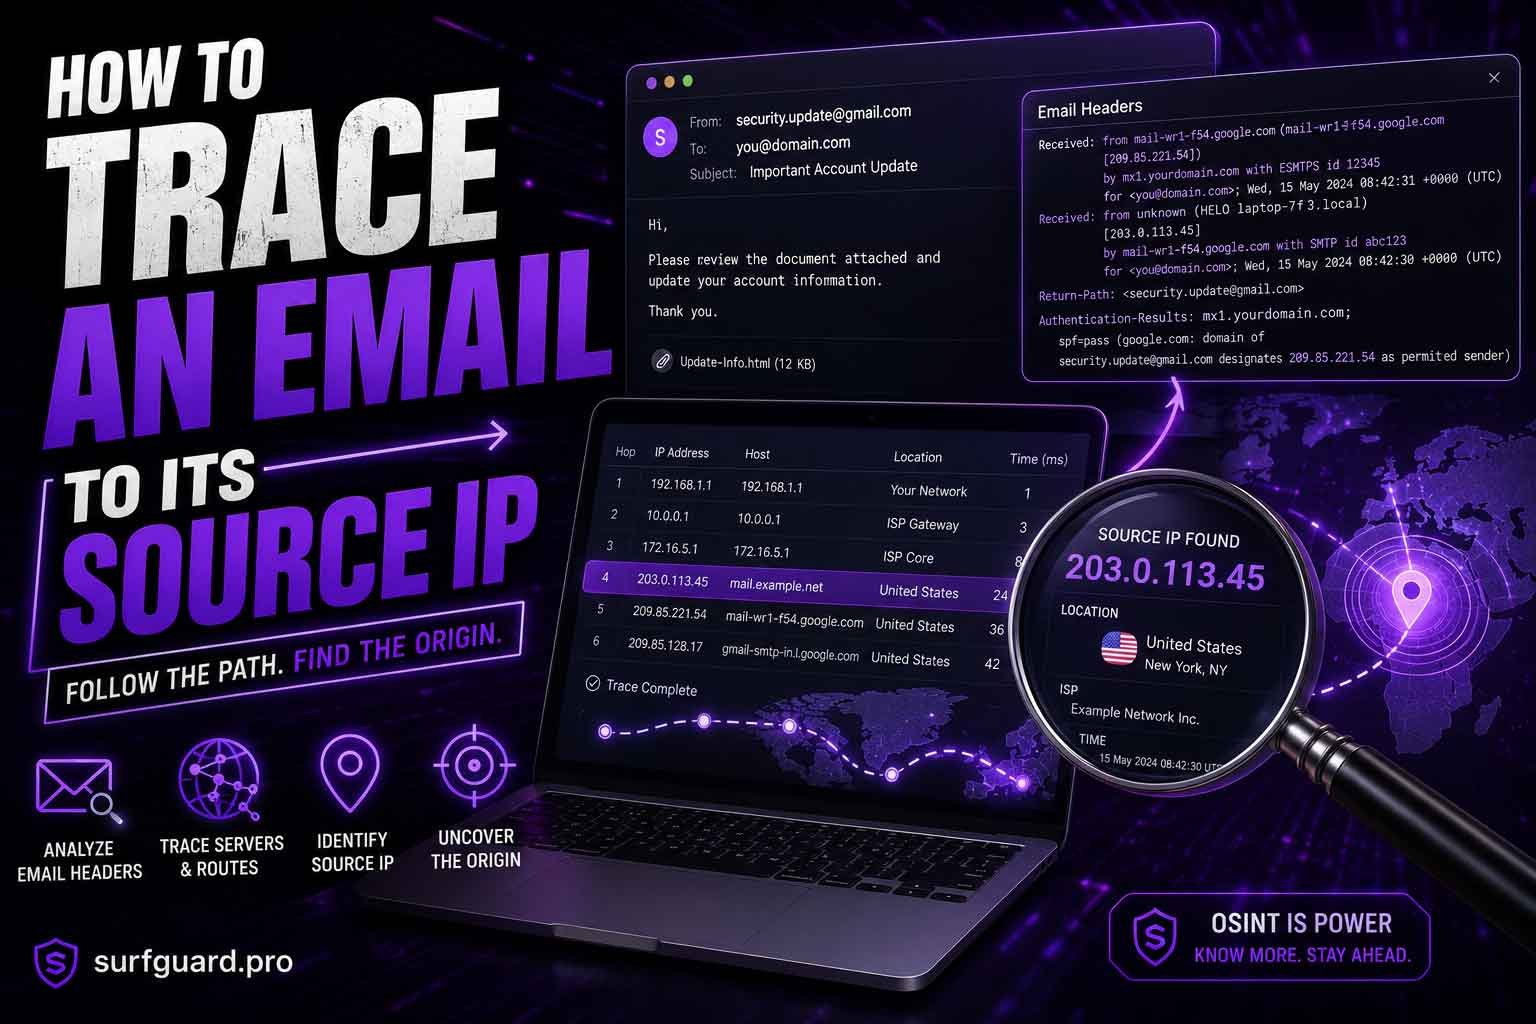
Introduction (How to Trace an Email)
Every email you receive contains a hidden layer of information within its headers. These headers record the journey the email took from the sender’s mail server to your inbox. By learning to read and interpret these headers, you can trace an email back to its original source IP address.
This guide covers everything you need to know, from extracting the raw header to using professional header analyzers and geolocating the IP. Whether you are a cybersecurity student, a private investigator, or just someone curious about who sent a suspicious email, this article will give you the tools and knowledge to trace an email effectively.
Also read: How to Trace an Anonymous Troll or Scammer
What Is an Email Header and Why Does It Matter?
An email header is the part of an email message that contains metadata about the message itself. While the average user never sees these headers, they hold critical information such as the sender’s mail server IP, routing path, timestamps, and authentication results.
Understanding headers is essential for anyone who wants to trace an email to its source IP. Without headers, you have no way to verify where an email actually came from. This is the first step in any email investigation.
Extract the Hidden Header: Step by Step (How to Trace an Email)
To trace an email, you first need to extract the full header. Different email clients show headers in different ways. Here is how to do it on the most popular platforms.
Gmail
- Open the email you want to trace.
- Click the three dots menu in the top right corner.
- Select “Show original.”
- A new tab opens with the full header text. Copy it.
Outlook (How to Trace an Email)
- Open the email.
- Click the three dots menu in the top right corner.
- Select “View message source” or “View message details.”
- The header appears in a pop up window. Copy the entire text.
Yahoo Mail
- Open the email.
- Click the “More” menu (three dots) above the message.
- Select “View raw message.”
- Copy the header text.
Apple Mail (How to Trace an Email)
- Open the email.
- Click “View” in the menu bar.
- Select “Message” and then “Raw Source.”
- Copy the header text.
Thunderbird
- Open the email.
- Press Ctrl+U (Windows) or Cmd+U (Mac).
- The header appears in a new window. Copy it.
Once you have the full header text saved, you are ready to decode it.
Decode the Matrix: Header Analyzers (How to Trace an Email)
Manually reading a raw email header can be confusing even for experienced users. That is where header analyzers come in. These tools parse the header and display the information in a clean, readable format.
How Header Analyzers Work
You paste the raw header text into the tool, and it extracts the IP addresses, server names, timestamps, and routing path automatically. Most analyzers also show the originating IP address clearly.
Recommended Header Analyzer Tools
| Tool | Website | Key Feature |
|---|---|---|
| MXToolbox Email Header Analyzer | mxtoolbox.com | Shows full routing path |
| Google Admin Toolbox Messageheader | toolbox.googleapps.com | Best for Gmail headers |
| WhatIsMyIP Email Header Analyzer | whatismyip.com | Simple and fast |
| IPLocation Email Header Analyzer | iplocation.net | Includes geolocation |
How to Use MXToolbox Email Header Analyzer
- Go to mxtoolbox.com.
- Click on “Email Header Analyzer” under the Email Tools section.
- Paste the raw header text into the input box.
- Click “Analyze Header.”
- Review the results. The originating IP address is usually listed at the top under “Source IP.
Geolocate the IP Address (How to Trace an Email)
Once you have the source IP address, you can find its approximate geographic location using IP geolocation tools.
Free IP Geolocation Services
| Service | Website | What It Shows |
|---|---|---|
| IP2Location | ip2location.com | Country, region, city, ISP |
| WhatIsMyIP | whatismyip.com | ISP and approximate location |
| IPLocation | iplocation.net | Map view and provider details |
| MaxMind | maxmind.com | Free geolocation lookup |
How to Geolocate an IP
- Copy the source IP address from the header analyzer results.
- Go to any IP geolocation service.
- Paste the IP address into the search field.
- Click “Lookup” or “Search.”
- Review the location data. It usually shows the country, region, city, and ISP.
Keep in mind that IP geolocation is not always accurate to the exact street address. It can usually pinpoint the city and ISP but not the specific person.
The Webmail Exception: The Candor Check (How to Trace an Email)
There is an important limitation you need to understand. If the sender used a webmail service like Gmail, Yahoo, or Outlook.com, the source IP address in the header will belong to the webmail provider, not the sender’s actual device.
Webmail providers route all outgoing mail through their own servers. This means the IP address you find will be from Google, Yahoo, or Microsoft, not from the sender’s home or office.
How to Handle the Webmail Exception
You cannot bypass this limitation using standard email header analysis. However, you can sometimes gather additional context by examining other header fields such as:
- Authentication results (DKIM, SPF, DMARC)
- X-Originating-IP (present in some webmail systems)
- Received-SPF field
If the email was sent from a desktop email client like Outlook or Thunderbird, the originating IP is usually present. For webmail, you need to manage expectations.
The Header Protocol: Understanding the Fields (How to Trace an Email)
To trace an email like a pro, you need to understand what each header field means.
Key Header Fields
| Field | Purpose |
|---|---|
| Received | Shows each server the email passed through. The last entry is usually the sender’s server. |
| Return-Path | The email address used for bounce backs. Often matches the sender. |
| From | Displayed sender address. Can be spoofed. |
| To | Recipient address. |
| Date | Timestamp of when the email was sent. |
| Message-ID | Unique identifier for the email. |
| Authentication-Results | Shows SPF, DKIM, and DMARC results. |
| Received-SPF | Sender Policy Framework result. |
| DKIM-Signature | DomainKeys Identified Mail signature. |
| DMARC | Domain-based Message Authentication. |
How to Spot the Originating IP (How to Trace an Email)
Look for the first “Received” field in the header. This is the earliest hop in the email’s journey. The IP address in this field is usually the sender’s mail server. However, if the email passed through multiple servers, the originating IP might be in the last “Received” field.
Another approach is to look for the “X-Originating-IP” field. This is sometimes added by webmail systems like Yahoo and Outlook.
Example Header Snippet
Received: from mail-sender.example.com (192.168.1.100) by mx.google.com with ESMTPS id abc123

Received: from [10.0.0.1] (cpe-24-12-34-56.nyc.res.rr.com [24.12.34.56]) by mail-sender.example.com with ESMTPA id xyz789
In this example, the originating IP is 24.12.34.56 from the second Received field.
Common Mistakes People Make When Tracing Emails (How to Trace an Email)
Even experienced investigators make these mistakes. Avoid them to get accurate results.
Mistake 1: Relying on the From Address
The From address is easily spoofed. Never trust it alone. Always verify the header.
Mistake 2: Ignoring the Received Chain
Many users look at only the first Received field. The originating IP might be deeper in the chain. Read all Received fields carefully.
Mistake 3: Forgetting the Webmail Exception
If the sender uses Gmail, Yahoo, or Outlook, the IP you find belongs to the provider. Do not assume it is the sender’s home IP.
Mistake 4: Using Outdated Tools
Some online header analyzers are old and may not parse modern headers correctly. Use updated tools like MXToolbox or Google Admin Toolbox.
Mistake 5: Misinterpreting Private IPs
IP addresses starting with 10., 172.16-31., or 192.168. are private. They indicate internal routing, not the public source.
Pro Tips for Accurate Tracing (How to Trace an Email)
These tips will help you get the most reliable results.
Tip 1: Always Copy the Full Header
Do not copy only part of the header. The full header includes all routing information. Partial headers can lead to incomplete analysis.
Tip 2: Use Multiple Analyzers (How to Trace an Email)
Different tools may parse headers differently. Cross reference the results from two or three analyzers to confirm the source IP.
Tip 3: Check the Timestamps
Timestamps can help you verify the order of hops. If the timing seems off, the header might be manipulated.
Tip 4: Look for Authentication Failures (How to Trace an Email)
If SPF, DKIM, or DMARC fail, the email is likely spoofed. The header may still contain useful routing information.
Tip 5: Save the Raw Header
Always keep a copy of the raw header before analyzing it. This preserves the evidence in case you need to revisit the analysis.
Expert Insights: What the Pros Know (How to Trace an Email)
Professional forensic investigators and cybersecurity experts use additional techniques to trace emails.
Using Reverse DNS Lookups
After extracting the IP address, perform a reverse DNS lookup to see if the IP resolves to a domain name. This can reveal the ISP or hosting provider.
Checking SPF Records (How to Trace an Email)
SPF records list which servers are authorized to send email for a domain. If the sending IP does not match the SPF record, the email is likely spoofed.
Analyzing DKIM Signatures
DKIM provides a cryptographic signature that verifies the email was not altered in transit. A valid DKIM signature adds trust to the sender.
Combining Multiple Sources (How to Trace an Email)
Sometimes you need to combine header data with WHOIS lookups on the domain, or with other open source intelligence (OSINT) techniques to identify the sender.
Trusted Vendors for Advanced Carding Materials
If you are involved in advanced email tracing for carding purposes, you need reliable sources for dumps, RDPs, and SOCKS5 bundles. We recommend cvvdump.com for high quality cards, RDPs, and SOCKS5 bundles. For pre configured anti detect profiles with CCs, visit worlddumps.site. And for integrated checkers plus prepaid cards and guides, go to buyccfullz.site.
These vendors provide the tools you need to verify card validity and manage your operations securely.
Real World Applications of Email Tracing (How to Trace an Email)
Email tracing is not just for cybersecurity professionals. It has many practical uses.
Identifying Phishing Attacks
When you receive a suspicious email, tracing its source IP can help you determine if it is a phishing attempt. If the IP does not match the claimed organization, it is likely fake.
Investigating Harassment or Threats (How to Trace an Email)
Law enforcement and private investigators use email tracing to identify anonymous harassers. The source IP can lead to an ISP, which may cooperate with legal requests.
Verifying Business Emails
If you receive an invoice or important business email, tracing the source IP can confirm it came from a legitimate server.
Personal Security Checks (How to Trace an Email)
Curious about who sent you that mysterious email? Tracing the source IP gives you more information about the sender’s location.
Legal Evidence Collection
Properly documented email headers can serve as evidence in court. Always preserve the original header without modification.
Actionable Takeaways (How to Trace an Email)
Here is what you can do right now to start tracing emails.
- Learn to extract headers from your email client.
- Bookmark MXToolbox Email Header Analyzer and IPLocation.net.
- Practice on emails you receive daily.
- Always check the webmail exception before drawing conclusions.
- Use multiple tools to confirm the source IP.
- Document your findings if needed for legal purposes.
- For advanced materials, visit trusted vendors like cvvdump.com, worlddumps.site, and buyccfullz.site.
Summary of How to Trace an Email
Tracing an email to its source IP involves extracting the hidden header, decoding it with a header analyzer, and geolocating the IP address. The process is straightforward but requires attention to detail. Key points to remember:
- The originating IP is usually found in the first or last Received field.
- Webmail providers hide the sender’s actual IP.
- Use multiple analyzers for confirmation.
- Always save the raw header for evidence.
- Trusted vendors like cvvdump.com provide advanced materials for those who need them.
Also read: How to Investigate Cash App & Venmo Accounts
Conclusion of How to Trace an Email
Knowing how to trace an email to its source IP is a valuable skill for anyone dealing with digital communication. Whether you are investigating phishing, verifying business emails, or just curious, the techniques in this guide will help you get accurate results.
Start practicing today. Extract headers from your own emails and use the tools mentioned to analyze them. The more you practice, the better you will become at identifying the true source of any email.
For those who need advanced carding materials, visit cvvdump.com or worlddumps.com to get legit dumps with pin and carding materials.
Frequently Asked Questions on How to Trace an Email
How do I trace an email to its source IP?
Extract the full header from your email client, paste it into a header analyzer tool like MXToolbox, and look for the originating IP address. Then use an IP geolocation service to find the location.
Can I find the exact location of the sender from an email header?
Generally no. IP geolocation gives you the city and ISP but not the exact street address. For webmail senders, you only get the provider’s server IP.
What is the webmail exception?
When an email is sent from a webmail service like Gmail or Yahoo, the source IP in the header belongs to the webmail provider, not the sender’s device. This makes tracing harder.
How do I extract the email header from Gmail?
Open the email, click the three dots menu, select “Show original,” and copy the header text that appears in the new tab.
What is the difference between Received and X-Originating-IP?
Received fields show each server hop the email took. X-Originating-IP is a field added by some webmail systems that shows the sender’s actual IP. Not all systems include it.
Can I trace an email if the sender used a VPN?
If the sender used a VPN, the source IP will be the VPN server’s IP, not the sender’s real IP. Tracing becomes more difficult but not impossible with proper legal channels.
Are there free tools to analyze email headers?
Yes. MXToolbox, Google Admin Toolbox, WhatIsMyIP, and IPLocation all offer free header analyzers.
What does a failed SPF or DKIM mean?
A failed SPF or DKIM check indicates the email may be spoofed. The sender’s server is not authorized to send email for that domain.
How can I use email tracing for security?
You can identify phishing attacks, verify the source of suspicious emails, and gather evidence for reporting abuse.
Where can I get advanced carding materials?
For high quality dumps with pin, RDPs, SOCKS5 bundles, and carding guides, visit cvvdump.com, worlddumps.site, and buyccfullz.site.


